
Dealing with ingrown hairs isn’t just about fixing a bump—it’s about understanding why your hair decides to grow sideways in the first place. As a skincare formulator who has worked with hundreds of clients on this exact issue, I can tell you that the solution isn’t a single miracle product. It’s a slight but strategic shift in your grooming routine that respects your skin’s biology.
Most advice stops at “exfoliate and moisturize.” This guide will show you why those steps often fail on their own and how to combine them with technique for lasting results.
Table of Contents
Part 1: Rethink Your Map—It’s About Hair and Pore Shape
An ingrown hair (medically, pseudofolliculitis barbae) happens when a curly or coarse hair curls back into the skin after shaving or waxing. The real culprit isn’t the hair’s willfulness; it’s the disconnect between your hair’s natural growth pattern and your hair removal method.
-
The Sharpened Spear Effect: When you shave, you create a sharp, angled tip on the hair. If your hair is curly, this sharp tip can more easily pierce the side of the follicle wall as it starts to regrow, rather than exiting straight out.
-
The Clogged Exit Ramp: Dead skin cells and debris can build up at the surface of the follicle, creating a physical block that forces the new growth to change direction.
Your First Action: Before you change anything else, let your hair grow out for 3-4 days. Examine its natural curl pattern in the problem areas (typically neck, bikini line, cheeks). This tells you what you’re working with.
Part 2: The Two-Pillar Prevention System
Effective prevention rests on two equally important pillars: Preparing the Canvas (your skin) and Mastering the Technique (your hair removal).
Pillar 1: Prepare the Canvas—Smart Exfoliation & Hydration
Exfoliation is crucial, but chemical is superior to physical for this purpose.
-
Pre-Hair Removal (24 Hours Before): Use a BHA (salicylic acid) toner or cleanser. Salicylic acid is oil-soluble, meaning it can exfoliate inside the pore and follicle, clearing the “exit ramp” of debris. A 2% formula is ideal.
-
Post-Hair Removal (48 Hours After): Switch to an AHA (like glycolic or lactic acid). These water-soluble acids work on the skin’s surface to swiftly slough away the top layer of dead cells, preventing them from collapsing over the new hair growth.
-
The Non-Negotiable: Hydration with Ceramides. A light, non-comedogenic moisturizer with ceramides strengthens your skin’s barrier. A resilient barrier heals faster from micro-trauma (like shaving) and is less prone to inflammation that can trap a hair.
Pillar 2: Master the Technique—Shaving as Skin Care
If you shave, this is your new protocol. Every step matters.
-
Soften with Warmth: Take a warm shower first. Hydrates the hair shaft, making it 60% softer and easier to cut cleanly.
-
Lubricate, Don’t Just Lather: Ditch aerosol foams. Use a fragrance-free shaving gel, cream, or even hair conditioner. You need slickness to minimize friction.
-
Tool Rules:
-
Blade: Use a sharp, single-blade razor (like a safety razor). Multiple blades cut the hair below the skin surface, increasing the “sharp spear” effect. One blade cuts it flush.
-
Direction: Shave with the grain (in the direction of hair growth) for your first pass. You can do a second, very light pass across the grain if needed. Never shave against the grain in problem areas.
-
Pressure: Let the razor’s weight do the work. Do not press.
-
-
The Final Rinse: Rinse the blade after every single stroke. A clogged blade drags and tugs.
-
Soothe Immediately: Rinse with cool water to close pores. Pat—don’t rub—dry.
Part 3: The “Rescue Kit” for Early Signs
Despite best efforts, you might feel a tender bump starting. Here’s how to intervene early without making it worse.
-
Warm Compress: Apply a clean, warm washcloth for 5 minutes, 2-3 times a day. This reduces inflammation and can gently encourage the hair to surface.
-
Targeted Treatment: After the compress, apply a 2% salicylic acid treatment directly to the bump.
-
The Cardinal Rule: Hands Off. Do not pick, scratch, or use tweezers on a buried hair. You risk infection, scarring, and worsening the inflammation.
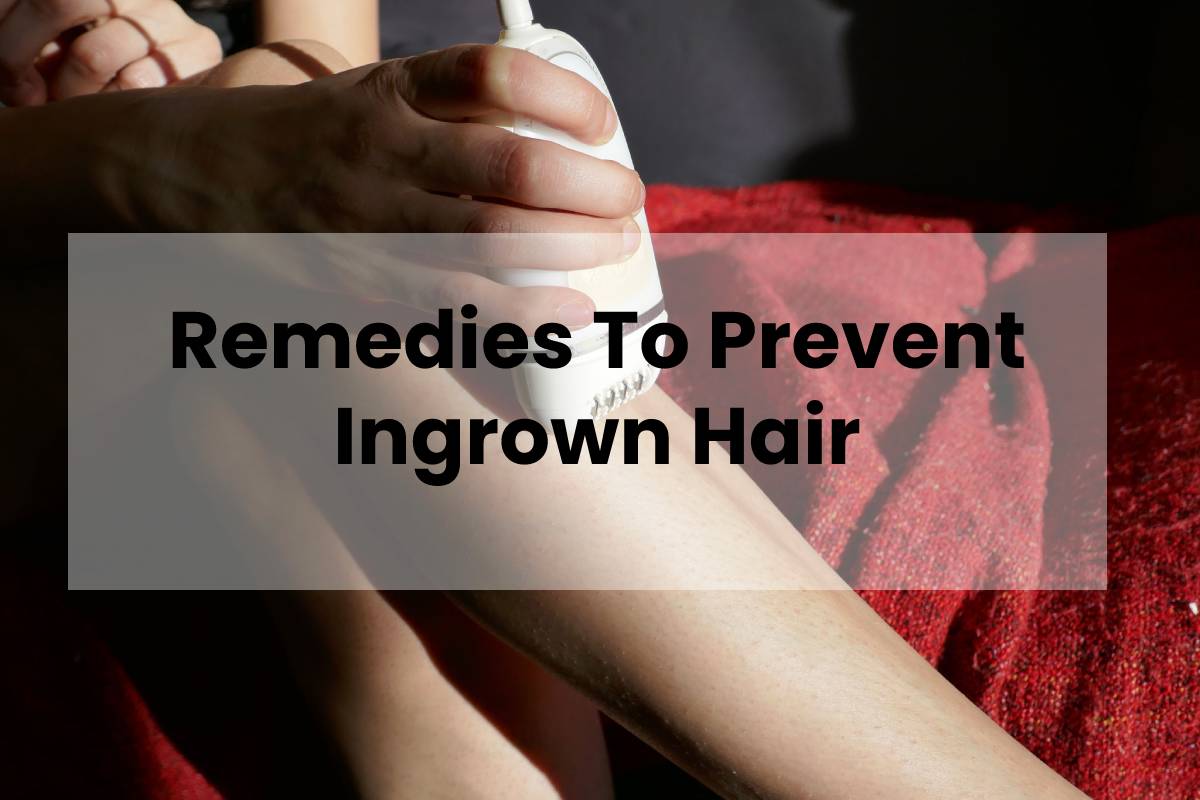
Part 4: Consider the Long-Game Alternative
If this is a constant battle, your most effective “prevention” might be to change the game. At-home IPL (Intense Pulsed Light) devices can be a worthwhile investment for reducing hair growth long-term. They work by targeting the pigment in the hair follicle. While not always permanent, they can significantly reduce hair density and coarseness, making what remains much easier to manage without ingrowns.
Conclusion: Consistency Over Quick Fixes
Preventing ingrown hairs is a test of routine, not willpower. It’s about consistently choosing the method that causes the least trauma and supporting your skin’s recovery every single time.
Your New Protocol in a Nutshell:
-
Exfoliate smartly (BHA before, AHA after).
-
Shave with strategy (single blade, with the grain, no pressure).
-
Hydrate strategically (ceramides for barrier repair).
-
Rescue early (warm compress, targeted BHA, never pick).
Adopt this system for 4-6 weeks. You’re not just avoiding a bump; you’re training your skin and hair to coexist peacefully.